Choosing equipment for a budget home recording studio
Researching what you need to make music can be a daunting task, especially when you’re on a budget. Here’s a break down of the most important pieces of kit you’ll need to get your home studio up and running.
1. DAW (Digital Audio Workstation)
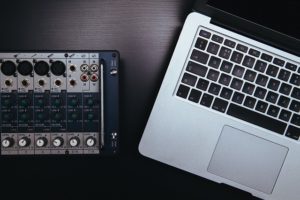
The DAW is the centre of your operation. It’s the name given to the software used for music creation and the computer that runs it. With just this and a pair of headphones you can start composing.
Laptop or desktop?
Desktop computers are still more powerful for the money than laptops, but most people today choose laptops for convenience. If you’re only getting one machine and you’ll be using it to play live, then a laptop is an obvious choice. If you’re some way off before you’ll be performing your music then a desktop will give you more bang for your buck.
What specifications do I need for my music laptop/PC?
It doesn’t matter if it’s PC or Mac. Just make sure you have enough processing power and memory to run your software. The minimum you should choose is a dual core i5 processor and 4GB of RAM memory. Better is an i7 and 8GB of RAM. If you plan to use lots of software synths and effects then the processor is king. If you want to use lots of sampling software (orchestral sounds for example) then RAM memory is most important.
What’s the best software to use for making music?
There are a number of popular professional and high-performing programmes on the market – Cubase, Logic, Garageband to name a few. I started out using Cubase and moved onto Ableton about 8 years ago because, as you would expect, it’s proved to be much more versatile for performing live. It’s also very quick and easy to get creative and improvise or try out new ideas using the live session view. Whichever DAW you choose, just select one and dive deep into learning that one really well.
Ableton Live Lite is a stripped down version of the full product that comes for free with many bits of cheap hardware like keyboards and hardware. It’s an easy and cheap way to get started. You can also try the full version for free for 30 days on the Ableton Live website.

2. Software synths and effect plugins
To begin with, try to keep your plugins list to a minimum. Choose two great synths and learn to use them properly. Having too much choice is not necessarily a good thing. What you don’t want to do is to spend all your time collecting lots of fancy plug-ins, when you could be using that time mastering how to use them properly. The plugins that come with Ableton are a great start. You can also get some great free plugins by searching on Google. Here’s a handy list of free plug-ins to get you started.
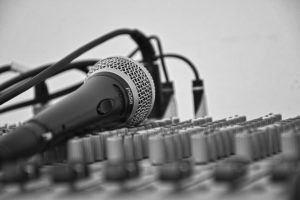
3. Audio interface
Using the on-board sound on your laptop will only get you so far. For professional sound and better a performing DAW, you should invest in an audio interface or sound card. Which one will depend on what you need it for. Will you be using a microphone? Will you be using hardware synths? etc.
Here are a couple of cheap but high quality cards we’d recommend:
- Focusrite Scarlett Solo
- Native Instruments Traktor Audio 2 Interface
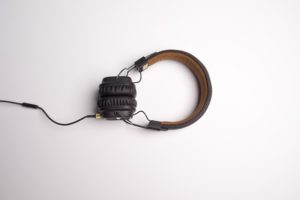
3. Monitors and headphones
Monitor speakers are very important but if you can learn to produce on headphones from the beginning then you will be able to make music anywhere. There are shortcomings with both – it’s notoriously difficult to mix bass on headphones. And to get a true and honest sound from your speakers, you’ll need some acoustic treatment in your room.
An ideal setup would be monitor speakers and headphones to check your mixes on.
Recommended headphones:
- Audio Technica ATH-M40X
- Sennheiser HD25
Recommended speakers:
A great place to start with monitors are the Yamaha HS5 or HS7 speakers. You’ll get a very honest sound, and in the budget category are the only monitors we’d recommend for professional use.
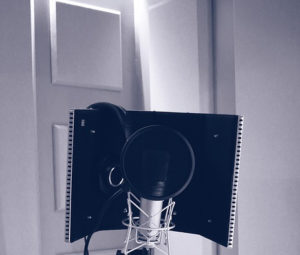
4. Acoustic treatment
We’ll be writing a blog post soon on the importance of room treatment. Meanwhile, here’s a good article from Sound on Sound that explains the basics of acoustic treatment for your listening room.
For further help with buying kit and/or setting up your studio, book a session with Idealnoise and we can help you get up and running.